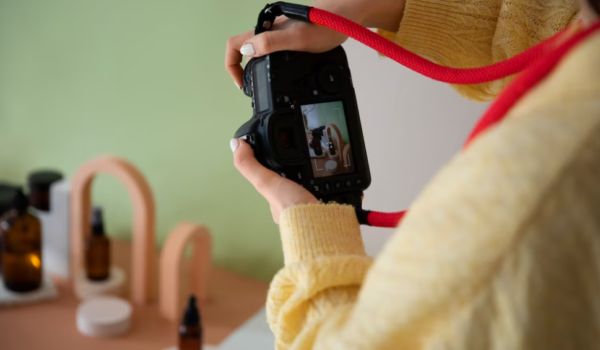
Every photographer encounters this situation: while reviewing photos after a shoot, you notice some are either excessively washed out or too dark. Though post-processing can remedy overexposed or underexposed images, mastering techniques to prevent these issues will allow you to capture stunning, unaltered photographs from the start.
What is Overexposed Photography?
Exposure stands as a cornerstone in photography, shaping the essence of every image captured. Essentially, it embodies the delicate equilibrium of light that finds its way to the film or camera sensor during the photography process. This pivotal measurement directly governs the brightness or darkness of the ultimate photograph, rendering it an indispensable skill for photographers to perfect.
Understanding exposure goes beyond technicalities; it encompasses the art of harnessing light to create captivating and evocative images. In the early days of photography and film, exposure relied on the chemical interaction between light and celluloid, culminating in the production of tangible film negatives. This analog process required meticulous handling and precise timing to preserve the essence of a moment frozen in time.
However, the digital revolution brought about a paradigm shift in the photographic world. With the advent of digital cameras, exposure now involves a seamless interplay of light and technology. When light strikes the camera sensor, it transforms into a stream of digital information, forming the basis of the visual data captured. This digital essence paves the way for the images we witness on our electronic screens and print into tangible photographs, each carrying the artist’s creative vision and storytelling.
In this modern era of photography, exposure remains a delicate dance between the artist and the ever-advancing technology. It requires a keen eye, technical proficiency, and an understanding of how light interacts with the camera’s sensor to achieve the desired visual impact. Photographers today are privileged with unprecedented control over exposure settings, empowering them to evoke emotions, illuminate beauty, and immortalize fleeting moments with unprecedented precision.
As the realms of art and science continue to converge in photography, understanding exposure becomes an enchanting journey of exploration and expression. Each photograph becomes a testament to the photographer’s mastery of light, breathing life into their unique vision and connecting with viewers on a profound level. Embracing this interplay of light and technology, photographers can continue to shape the narrative of our world, one captivating image at a time.
Achieving the ideal exposure is a skill that photographers continually refine through experimentation and practice. Striking the right balance between too much and too little light determines the overall mood, visual appeal, and storytelling potential of the photograph. In essence, exposure serves as the cornerstone of photography, allowing artists to paint with light and transform moments into timeless visual art. Whether capturing landscapes, portraits, or intricate still life compositions, understanding exposure empowers photographers to convey emotions, communicate narratives, and create masterful works that resonate with viewers worldwide.
What is Overexposure?
Overexposure, a common challenge in photography, arises when an image becomes excessively bright, surpassing the level of neutral exposure. It occurs when an overwhelming influx of light inundates the camera’s sensor, resulting in an image that appears glaringly bright and devoid of subtle details. As a consequence, overexposed photos lack the contrasting highlights and shadows that lend depth and dimension to a compelling composition.
To safeguard against the pitfalls of overexposure, photographers wield precise control over the amount of light entering their camera. This deft manipulation revolves around two fundamental settings—aperture and shutter speed. By skillfully adjusting these parameters, photographers deftly regulate exposure, expertly collecting and managing incoming light to craft precisely balanced images.
Although ISO can assist in adjusting brightness, it stands apart from aperture and shutter speed in terms of its role in exposure control. Unlike aperture and shutter speed, ISO does not directly influence the amount of light entering the camera; instead, it influences the camera sensor’s sensitivity to light. Therefore, its primary function is to adjust the overall brightness of the image, rather than fine-tune exposure.
Mastering the intricate interplay of aperture, shutter speed, and ISO marks the pathway to achieving well-balanced exposures and unlocking the potential for capturing striking, finely-detailed photographs. As photographers delve deeper into this captivating world of exposure control, they gain the ability to shape the very essence of their images, transforming mere moments into timeless works of visual art. Through dedication, practice, and a keen eye for light, photographers can navigate the delicate balance between underexposure and overexposure, revealing the true magic of photography in all its brilliance.
What is Underexposure?
Underexposure is a common occurrence in photography when the amount of light hitting the film strip or camera sensor is insufficient during the image capture process. This can happen in various situations, such as shooting in low light conditions, using incorrect camera settings, or when the subject is backlit, causing the foreground to appear dark.
When a photo is underexposed, it exhibits several characteristics that are distinguishable to the trained eye. Firstly, the overall image appears too dark, lacking the necessary brightness to reveal the full range of colors and details. This can be particularly noticeable in poorly lit indoor scenes or during nighttime photography.
One of the most significant challenges with underexposure lies in the shadows. In an underexposed image, the shadow areas lose their definition and depth, often merging into a black mass without revealing the subtleties within. This lack of shadow detail can lead to a loss of overall contrast and make the photo look flat and uninteresting.
How to Correct an Overexposed Image
Dealing with overexposed images, especially in outdoor photography, is a common challenge faced by photographers. While our eyes can naturally adapt to the sun’s intense brightness, cameras have limitations in adjusting to such extremes. Here are some effective ways to tame the excessive light and correct overexposed images:
| Technique | Description |
|---|---|
| Move the exposure slider | Easily adjust overall brightness by dragging the exposure slider. Slide to the right to increase exposure or to the left to decrease exposure. |
| Move the white balance slider | Adjust mid-tones by dragging the white balance slider. Slide to the right for increased brightness or to the left for decreased brightness. |
| Move the highlights slider | Fine-tune highlights by dragging the highlights slider. Slide to the right for increased brightness or to the left for decreased brightness. |
| Use a graduated filter | Target overexposed areas with a darkness gradient using the graduated filter tool. Adjust settings to darken blowout and reveal more detail. |
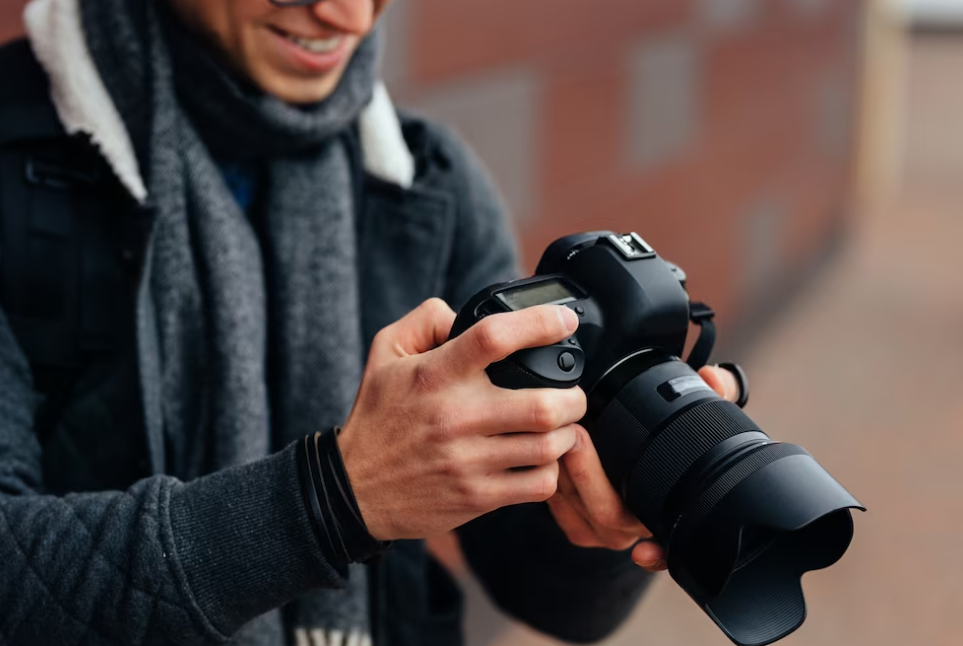
Exposing Photos: The Camera Settings
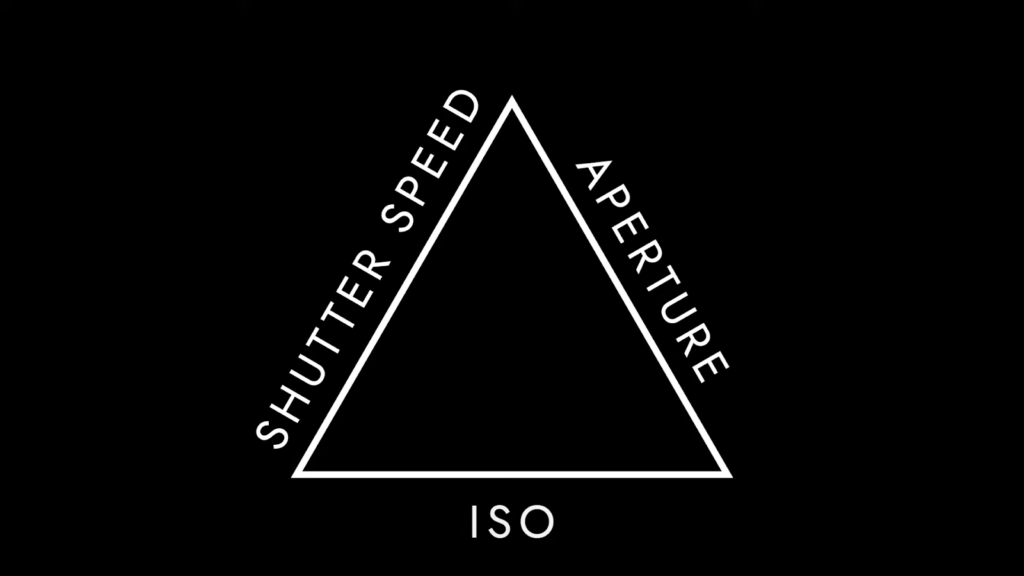
When capturing photos or filming scenes, mastering exposure is key to achieving well-lit and balanced shots. Understanding the interplay of aperture, shutter speed, and ISO is essential for ensuring proper exposure without being a lighting expert.
- Aperture serves as the gatekeeper of the lens, determining its opening’s width to regulate the light entering the camera. A wider aperture permits more light, whereas a narrower one restricts its flow;
- Shutter speed, on the other hand, dictates the velocity at which the camera’s shutter opens and closes, managing the light’s duration that reaches the sensor during image capture;
- In contrast, ISO governs the overall brightness of the photo and collaborates seamlessly with aperture and shutter speed to attain the desired exposure level. Together, these three elements form the fundamental components of the exposure triangle, enabling photographers to artistically control the light and capture striking images.
These three components, aperture, shutter speed, and ISO, form the Exposure Triangle, empowering photographers to masterfully control the light and capture beautifully exposed images.
Tips for Achieving Properly Exposed Photos
Mastering exposure is crucial for capturing well-balanced and visually appealing photographs. To avoid the pitfalls of overexposed or underexposed images, consider these essential tips:
- Understand the exposure triangle: Comprehend how shutter speed, aperture, and ISO interact to achieve proper exposure. Learn how adjustments in one element affect the others, enabling you to capture more accurately exposed photos. Check out our complete guide on the exposure triangle for in-depth understanding;
- Set a low ISO: Control your camera’s sensitivity to light by opting for a lower ISO setting. Choose ISO 100 on sunny days, ISO 400 on cloudy days, ISO 800 for indoor shots, and ISO 1600+ in low-light conditions. Explore our comprehensive guide on ISO for more insights;
- Choose a medium-to-high aperture: Selecting the right aperture, expressed in f-stops, determines how much light hits the sensor and impacts the depth of field. Avoid excessively wide apertures like f/1.4 that may lead to overexposure. Begin with a medium aperture around f/8 and adjust accordingly;
- Opt for a medium to fast shutter speed: Control the duration the camera shutter remains open while taking a photo. A longer shutter speed increases the risk of overexposing the image. Start with 1/60 as a baseline and fine-tune as needed. For in-depth knowledge, refer to our comprehensive guide on shutter speed;
- Use the light meter: Leverage your camera’s built-in light meter or invest in a dedicated light meter to measure the light in a scene accurately. This helps you determine the optimal exposure settings for your images;
- Employ exposure compensation: In shutter priority or aperture priority mode, your camera may struggle with extreme contrasts. Instead of switching to manual mode, utilize the exposure compensation dial to override the camera’s settings and fine-tune exposure. It allows you to underexpose or overexpose shots as needed;
- Reference the histogram: Utilize the histogram, a bar graph displaying pixel distribution from pure black to pure white, to assess exposure accuracy in digital photography. Adjustments can be made if the histogram shows an underexposed or overexposed image;
- Embrace bracketing: Take advantage of bracketing, capturing additional shots with +1 and -1 exposure values for each photo. This technique ensures you have multiple exposures to choose from, increasing the chances of obtaining perfectly exposed images.
Conclusion
Overexposure in photography occurs when an image appears excessively bright, resulting in the loss of crucial details and washed-out highlights. To avoid this issue and create visually appealing, well-balanced photos, photographers must have a solid grasp of exposure settings like ISO, aperture, and shutter speed. By honing their skills and mastering exposure techniques through practice, photographers can elevate their craft and capture captivating images under different lighting conditions.